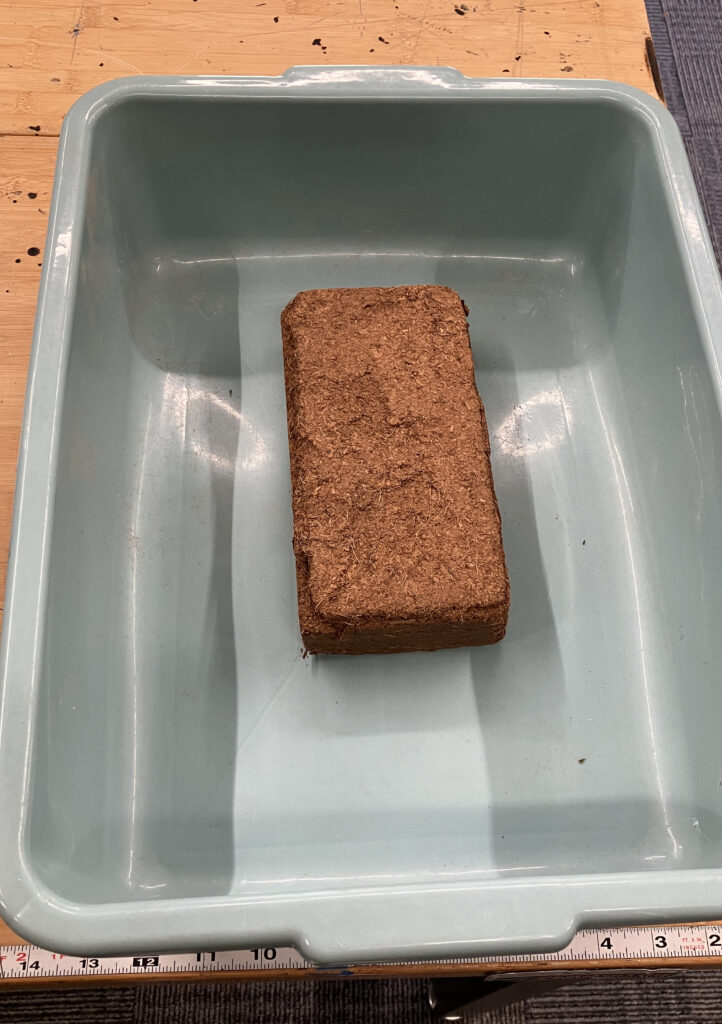

Step 1: Medium Preparation
Place the compressed coconut coir block into a clean mixing container. This sustainable growing medium provides excellent aeration and water retention properties ideal for seedling development.
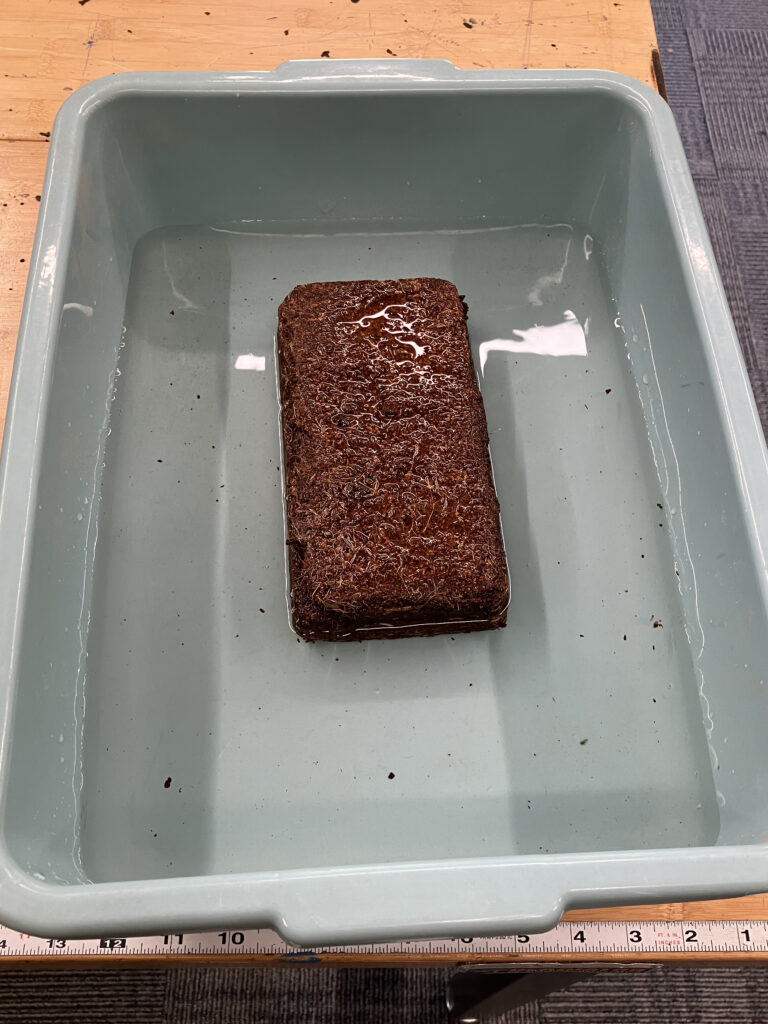
Step 2: Initial Hydration
Add one gallon of room-temperature water to the container, ensuring the coir block is completely covered. The block will begin expanding as it absorbs water.
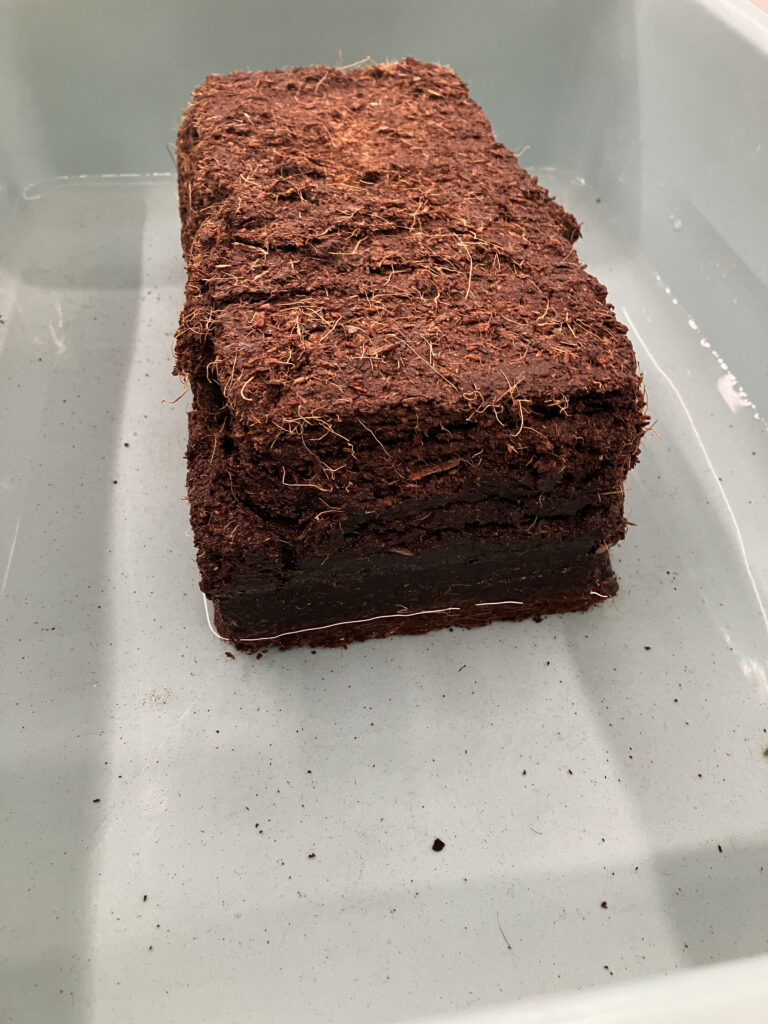
Step 3: Complete Hydration
Allow the block to soak for approximately one hour, rotating occasionally to ensure even hydration. You’ll observe the block expanding significantly as it absorbs water.
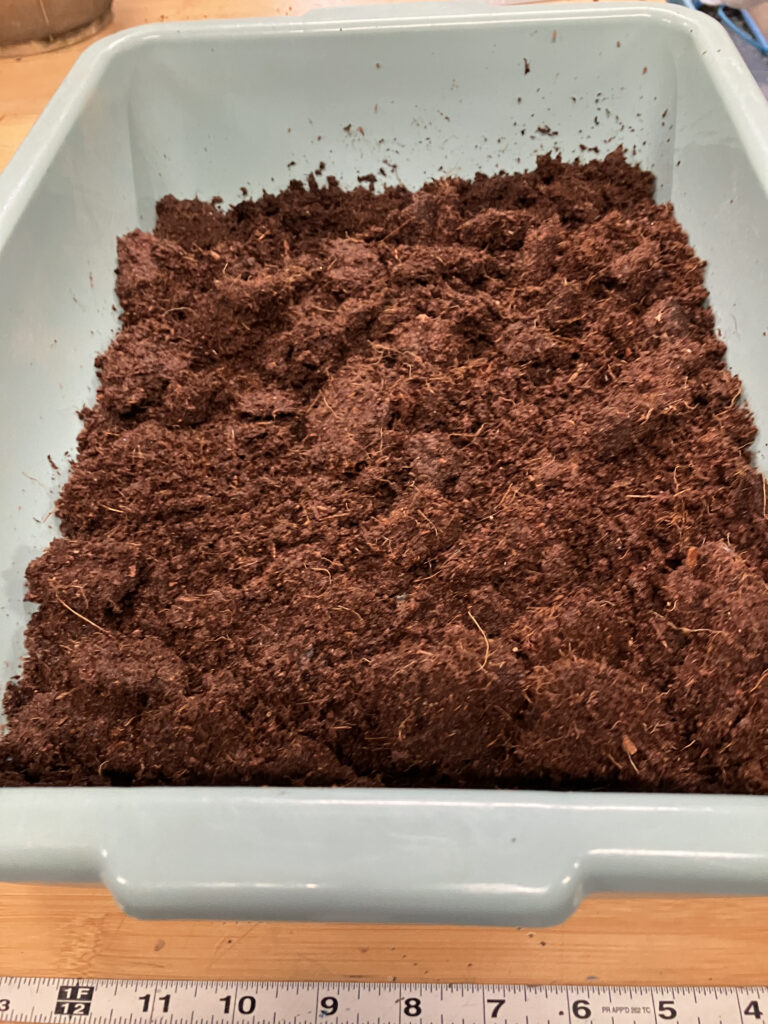
Step 4: Medium Preparation
Pour off any excess water and break up the hydrated coir into a uniform consistency. Add one scoop (one ounce) of G3 Grow Formula and mix thoroughly. This integration of time-released nutrients and water retention crystals creates an optimal growing environment.
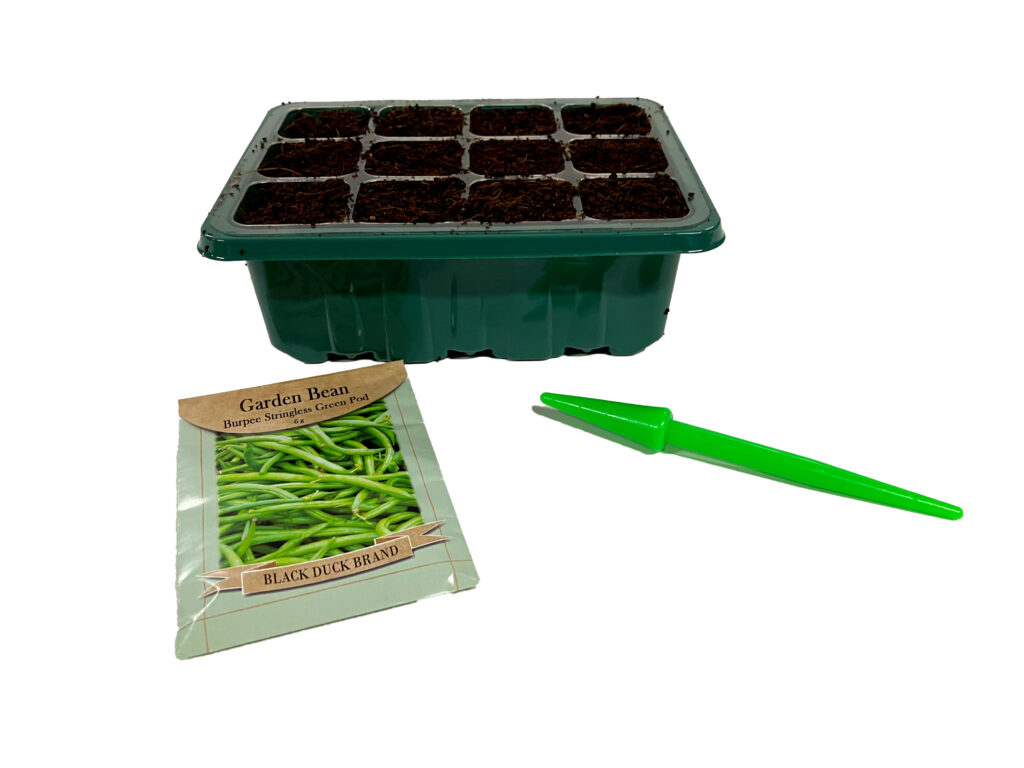
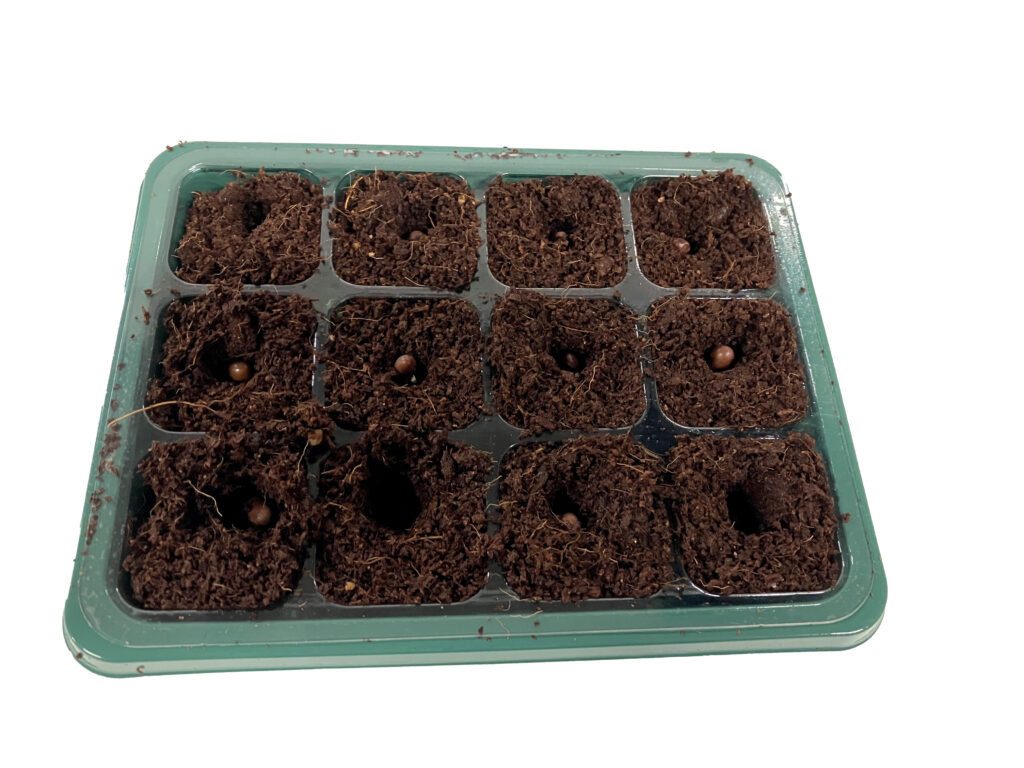
Step 5: Tray Preparation
Fill the greenhouse tray with the prepared growing medium. Have your selected seeds ready for planting. A seedling tool, pen, or pencil will help create consistent planting holes.
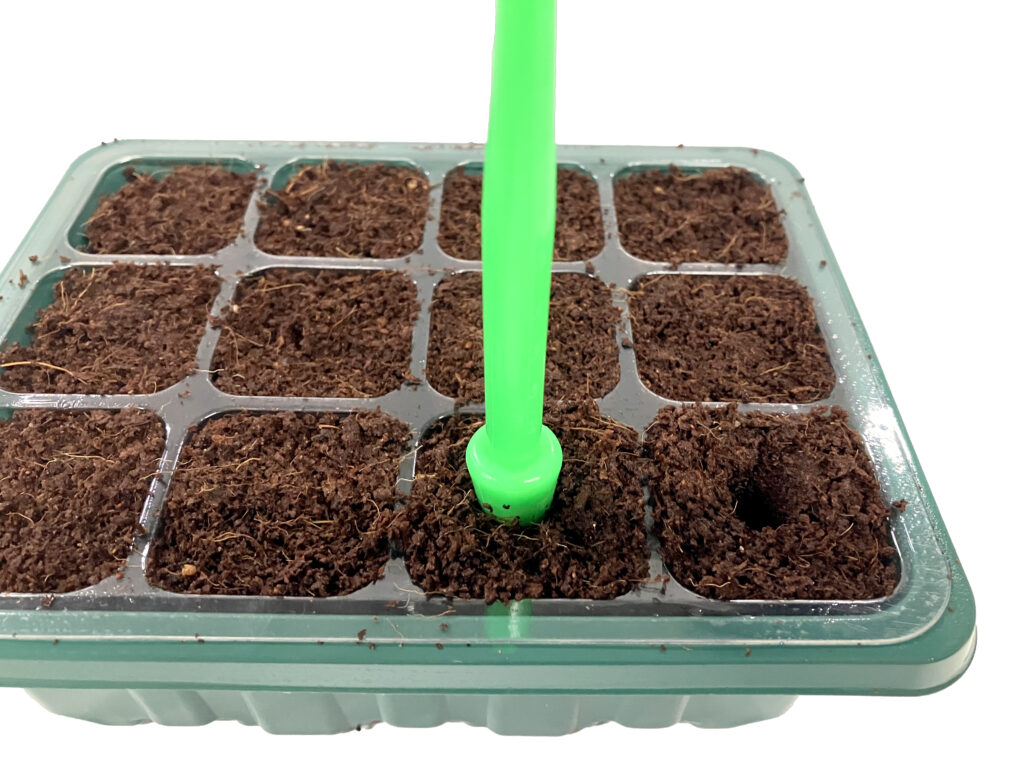
Step 6: Creating Planting Holes
Using your chosen tool, create planting holes approximately ¾ inch deep in the growing medium. This depth provides optimal conditions for most common garden vegetables and herbs.
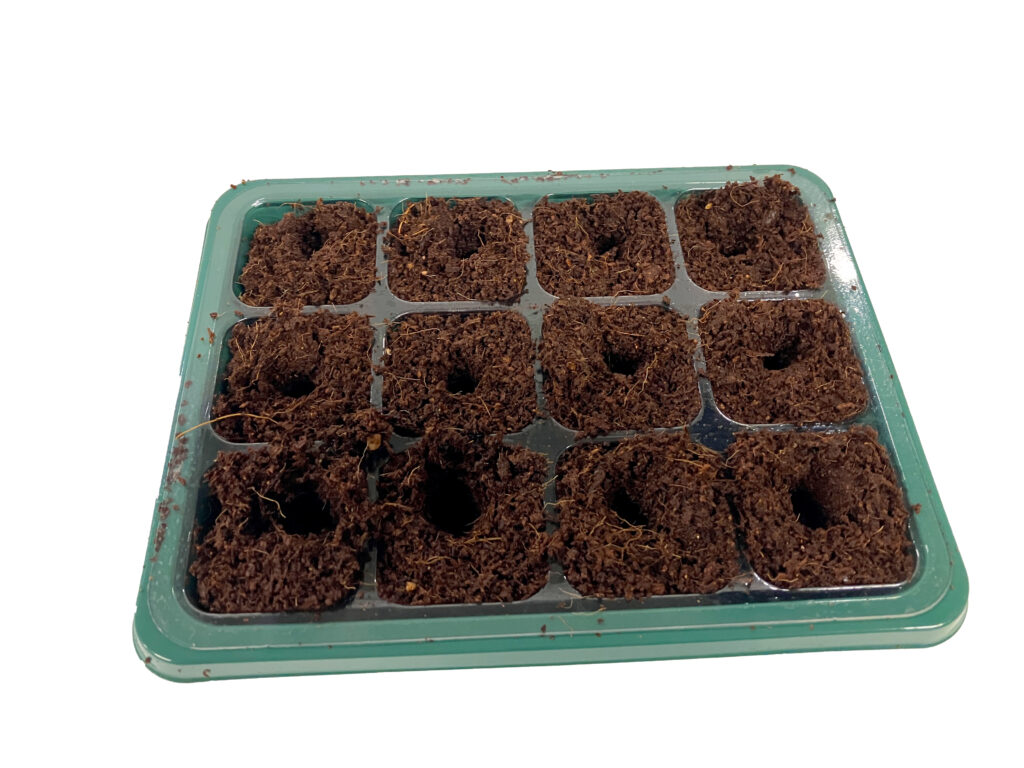
Step 7: Complete Hole Formation
Continue making evenly spaced holes throughout the planting tray, ensuring consistent depth for uniform germination.
Step 8: Seed Placement
Carefully place seeds into each prepared hole. For smaller seeds, consider planting 2-3 per cell, planning to thin later. Use plant markers if planting multiple varieties – this becomes crucial as seedlings develop.
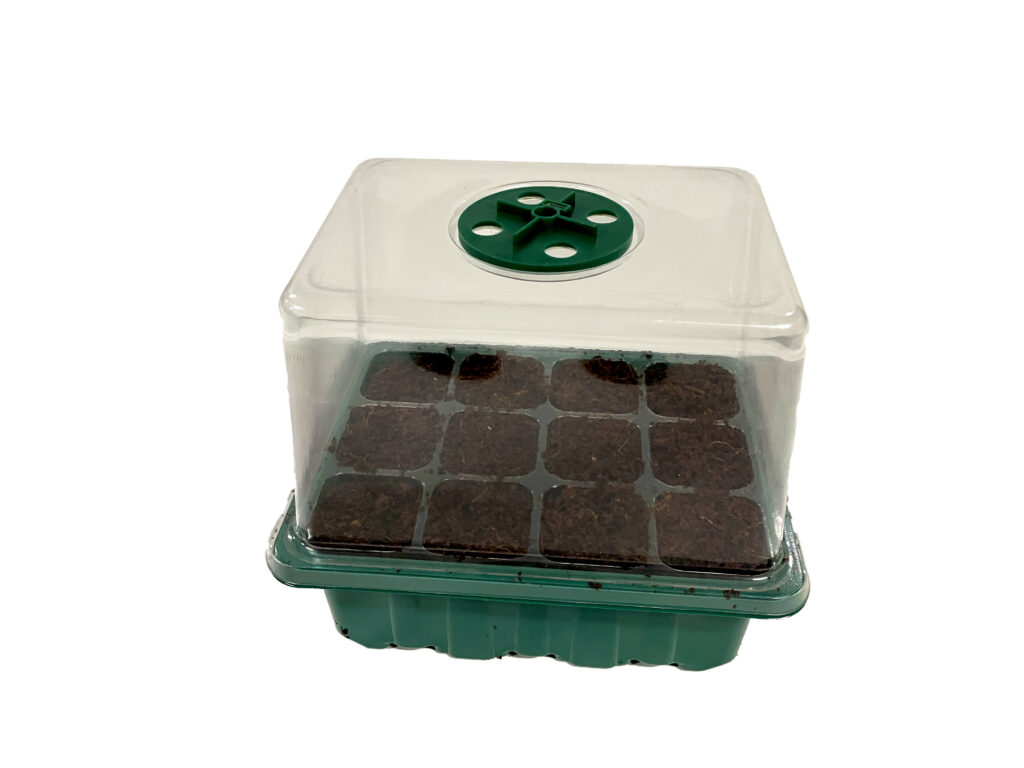
Step 9: Covering Seeds
Gently cover the seeds with a light layer of growing medium, ensuring complete coverage while maintaining appropriate planting depth. This provides the dark environment seeds need for germination while maintaining proper moisture.
Step 10: Initial Watering
Water the newly planted seeds gently using a fine spray or misting bottle to avoid displacing them. The growing medium should be thoroughly moist but not waterlogged.
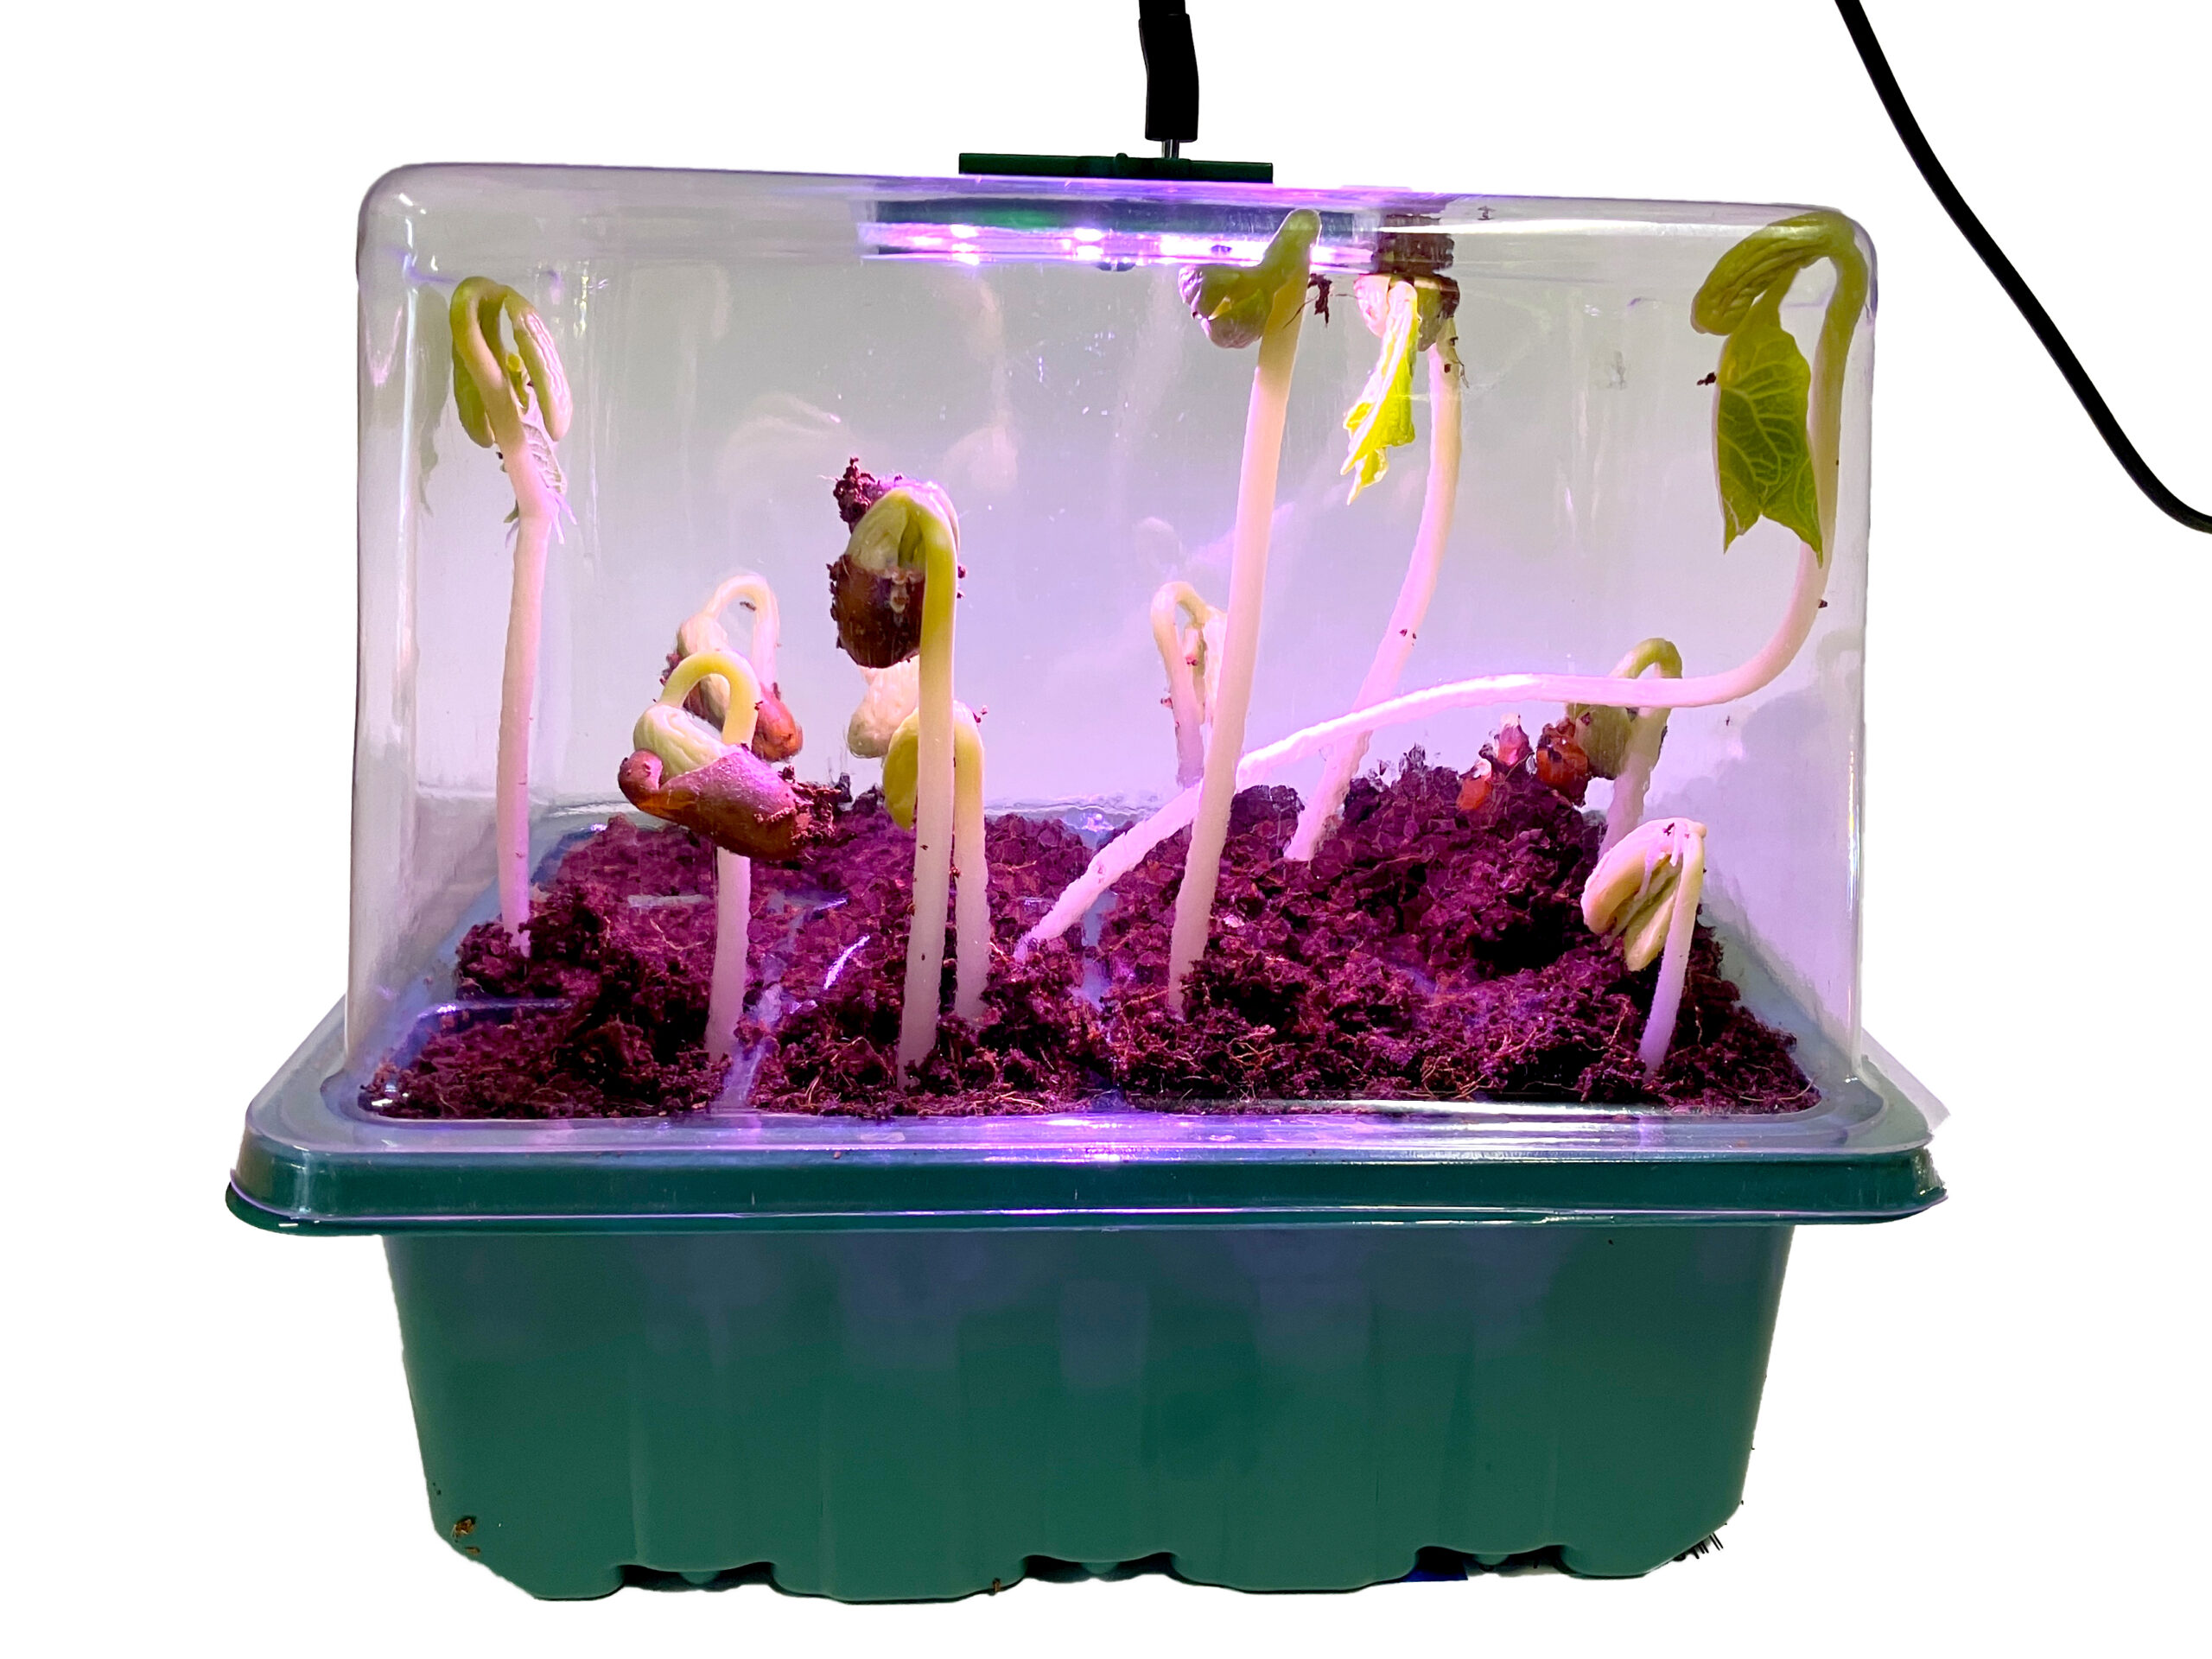
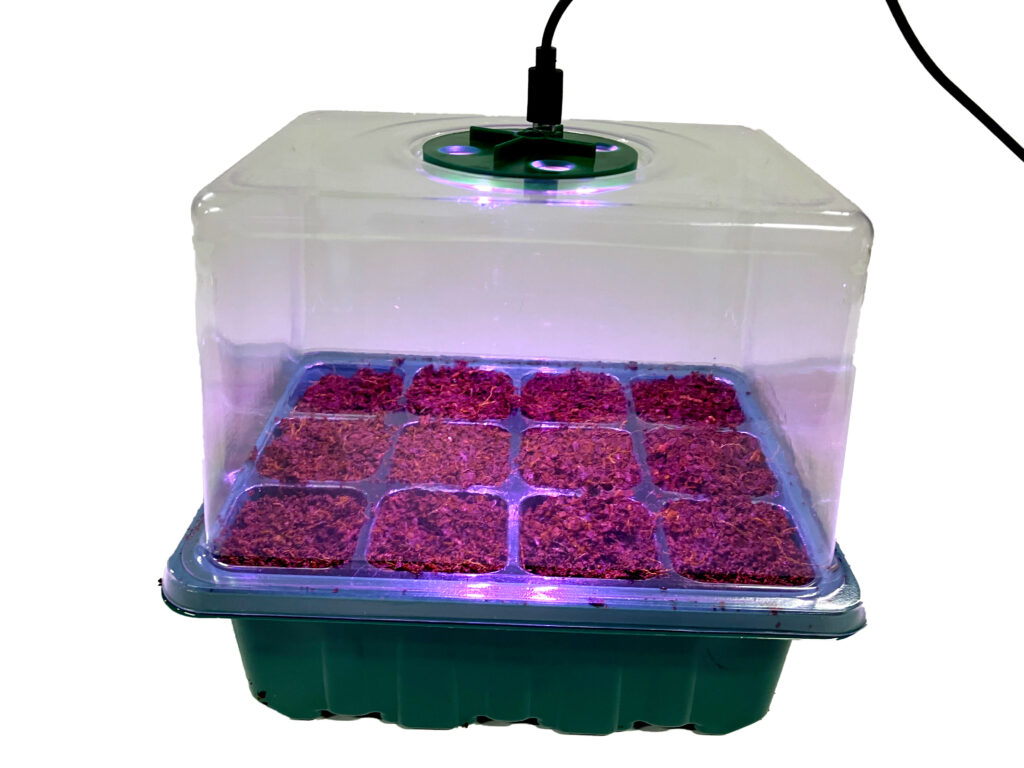
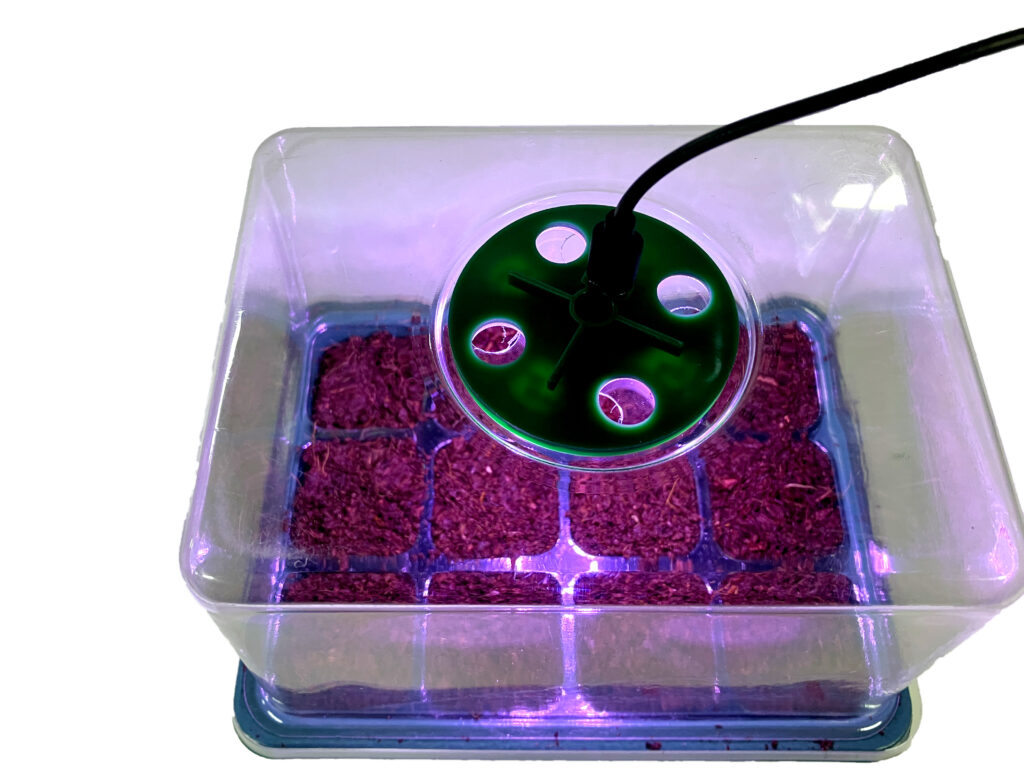
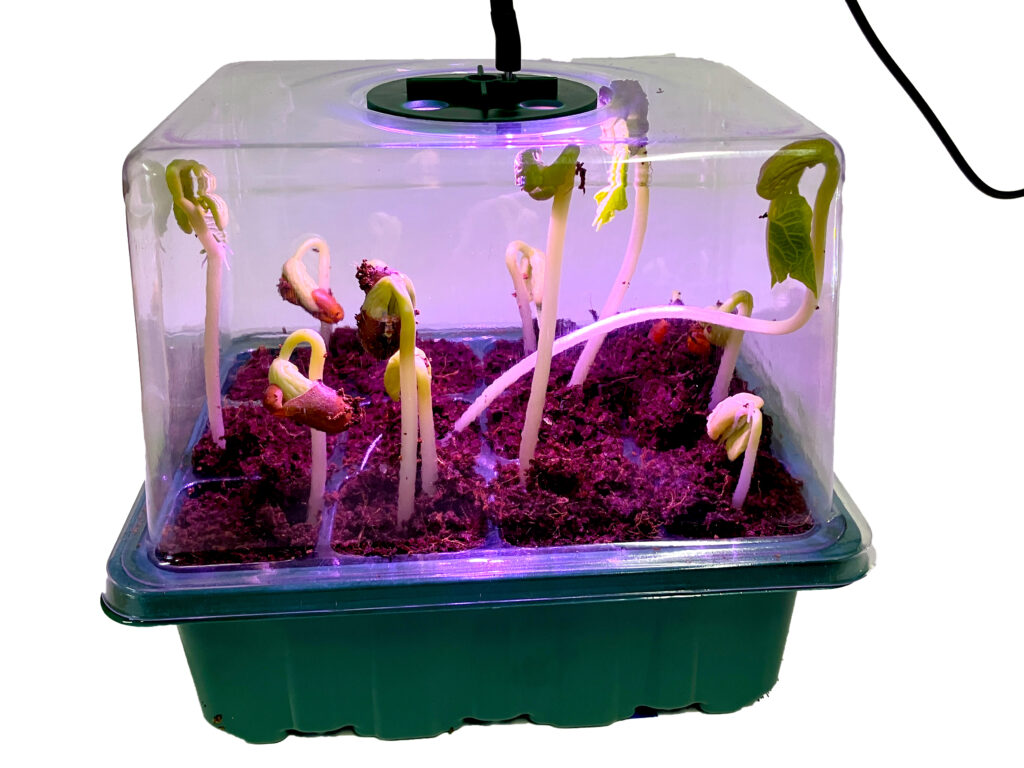
Step 11: Lighting Setup
Position the LED lighting system at the recommended height above the tray and connect to power. The specialized spectrum promotes strong, compact growth while preventing leggy development.
Step 12: Ventilation Management
Adjust the greenhouse cover vent to maintain proper humidity during germination. Initially keep vents mostly closed, then gradually open them as seedlings emerge to begin the hardening off process.
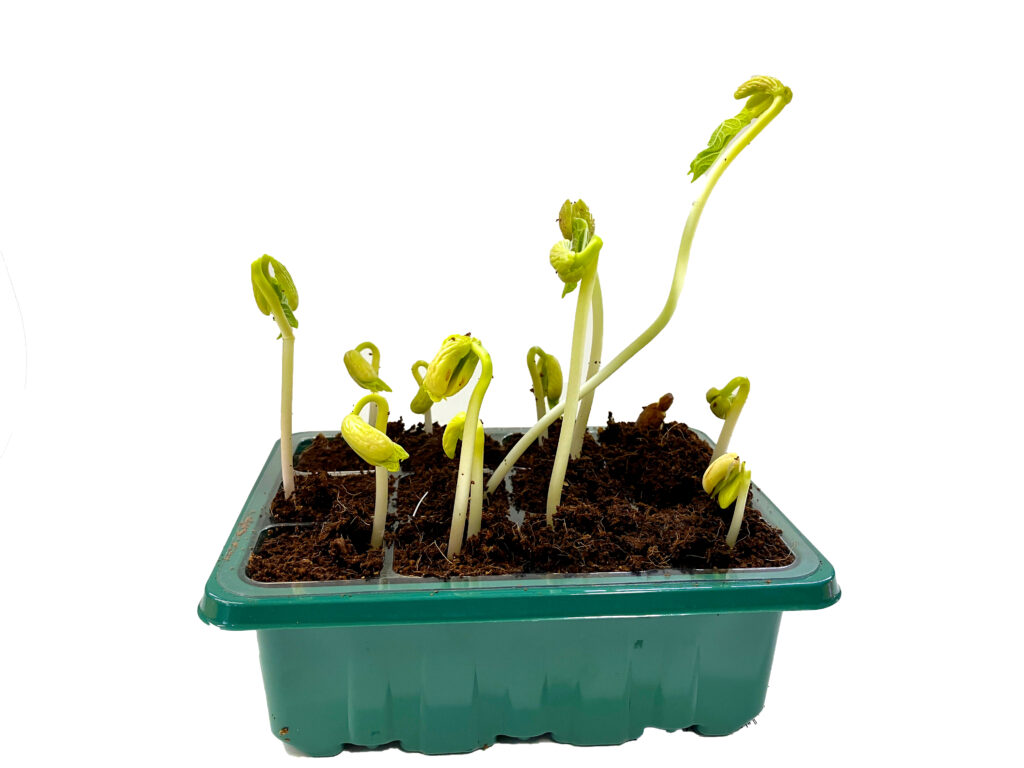
Step 13: Cover Removal
Once plants begin approaching the greenhouse cover height, typically when they have 2-3 sets of true leaves, remove the cover to prevent contact with growing tips.
Step 14: Final Development
Continue growing your seedlings uncovered until they develop strong root systems and achieve appropriate size for transplanting, typically 3-4 weeks after germination depending on species.
Remember to monitor moisture levels daily and maintain consistent environmental conditions throughout the growing process. These steps provide the foundation for successful seedling development and strong, healthy plants ready for transplanting into your grow bag system.