9.3 Seed Saving for Future Crops
9.3 Seed Saving for Future Crops
Understanding Seed Maturity
When to Harvest
- Seeds must reach full maturity on the plant before harvesting
- Allow fruits to ripen completely past eating stage
- Let seed pods dry and turn brown on the plant
- Watch for natural seed dispersal signs
- Harvest in dry weather to prevent mold
Plant-Specific Guidelines
- Tomatoes: Allow fruit to fully ripen beyond eating stage
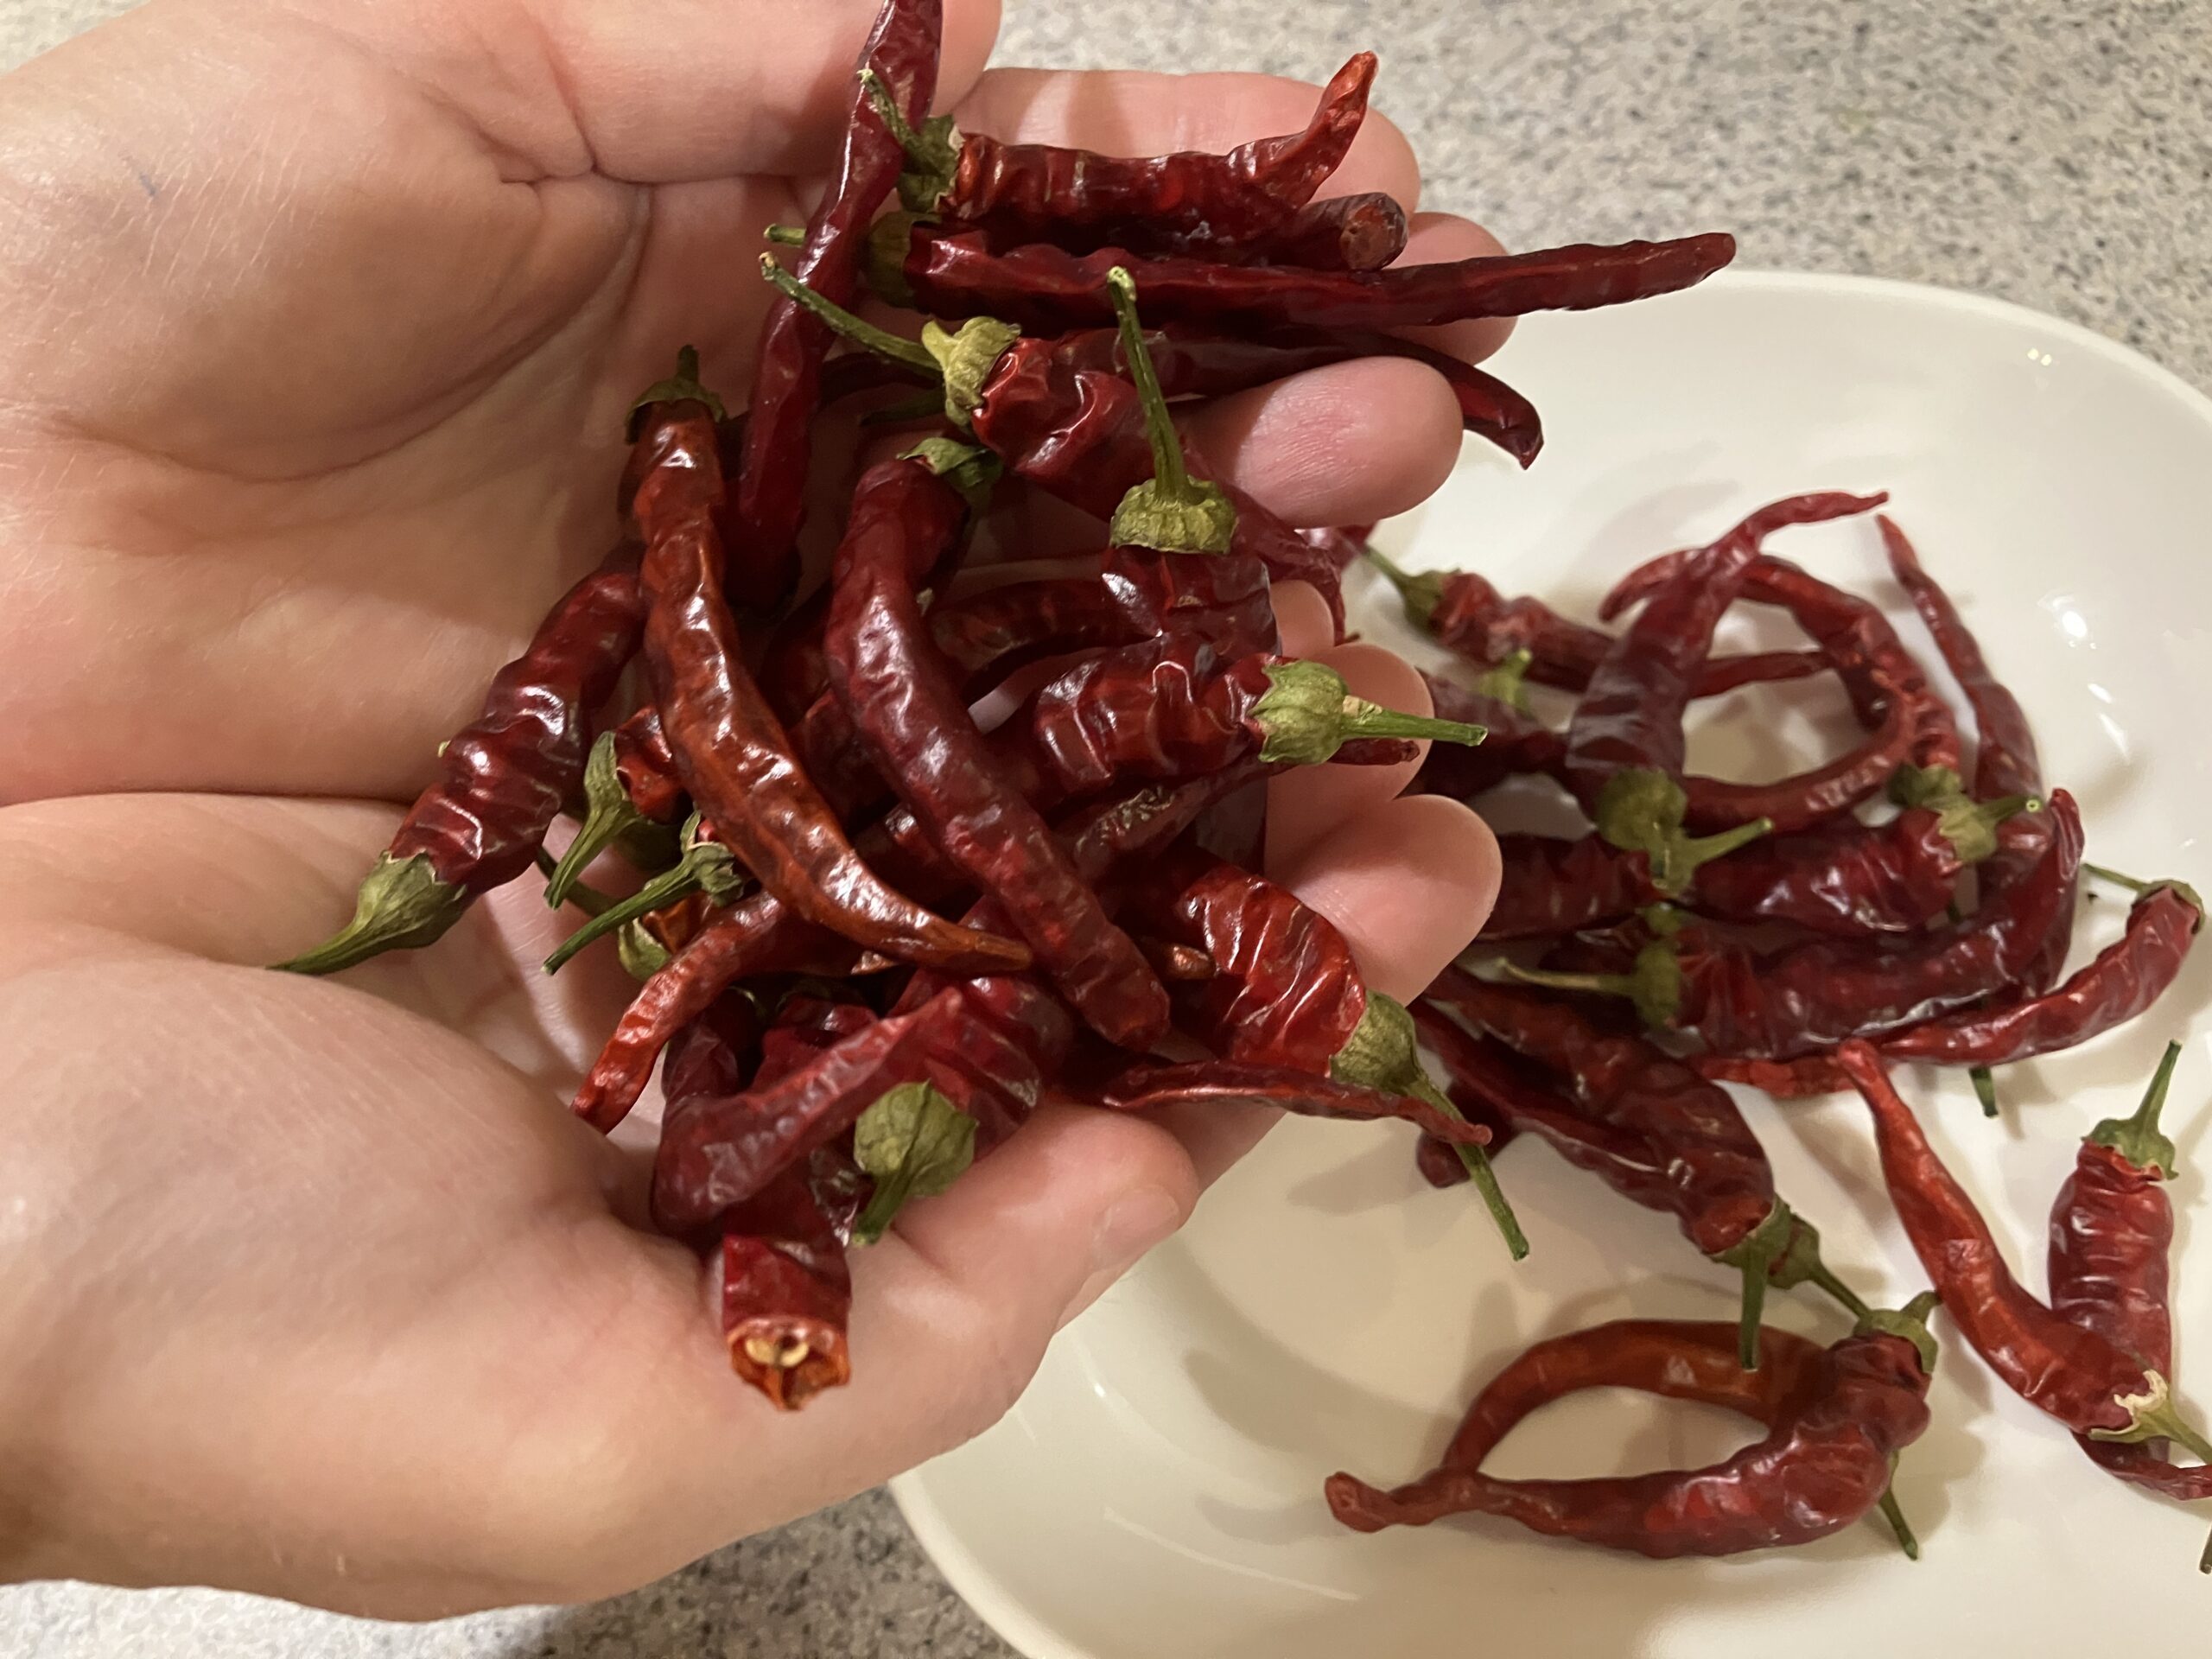
- Peppers: Let peppers turn their final color and start to wrinkle
- Beans/Peas: Leave pods on plant until they’re dry and brittle
- Lettuce: Watch for seed heads to form white fluff
- Squash: Allow fruit to remain on vine well past mature stage
- Herbs: Let flower heads turn brown and dry
Collection Methods
Dry Seeds (Beans, Peas, Herbs)
- Wait for pods/seed heads to dry completely
- Collect on a dry, sunny day
- Place pods in paper bag to catch falling seeds
- Gently crush pods to release seeds
- Winnow to remove chaff
- Check seeds for insect damage
Wet Seeds (Tomatoes, Cucumbers, Squash)
- Scoop seeds from ripe fruit
- Place in container with water
- Allow to ferment 2-3 days
- Remove floating seeds and pulp
- Rinse good seeds thoroughly
- Dry on paper plates or coffee filters
Cleaning and Processing
Dry Method
- Remove all plant debris
- Use screens or sieves to separate seeds
- Winnow in gentle breeze to remove chaff
- Ensure seeds are completely clean
- Check for damage or disease
Wet Method
- Wash seeds in colander
- Remove any remaining pulp
- Pat dry with paper towels
- Spread on drying screens
- Keep in ventilated area
Drying Process
Essential Steps
- Spread seeds in single layer
- Provide good air circulation
- Keep away from direct sunlight
- Maintain room temperature
- Allow 1-2 weeks for complete drying
- Test by breaking seed (should snap, not bend)
Drying Equipment
- Window screens
- Paper plates
- Coffee filters
- Dehumidifier (if needed)
- Fan for air circulation
- Mesh drying racks
Storage Methods
Container Selection
- Paper envelopes
- Glass jars with tight lids
- Mylar bags with zip seals
- Avoid plastic bags
- Use silica gel packets for moisture control
- Label everything clearly
Storage Conditions
- Keep temperature between 32-41°F
- Maintain low humidity
- Store in dark location
- Protect from temperature fluctuations
- Check periodically for moisture
Labeling and Documentation
Essential Information
- Plant variety name
- Date collected
- Special growing notes
- Parent plant characteristics
- Original source
- Expected viability period
Record Keeping
- Maintain seed inventory
- Track germination rates
- Note weather conditions during growing season
- Document any unique traits
- Keep planting calendar
Testing Viability
Before Storage
- Conduct float test for larger seeds
- Check for proper maturity
- Examine for damage
- Test sample for proper drying
Before Planting
- Germination testing
- Paper towel method
- Count success rate
- Record results
Long-Term Preservation
Best Practices
- Rotate seed stock regularly
- Share with other gardeners
- Store backups in different locations
- Maintain optimal storage conditions
- Check periodically for quality
Expected Viability
- Tomatoes: 4-10 years
- Peppers: 2-5 years
- Beans: 3-4 years
- Peas: 3-4 years
- Lettuce: 4-6 years
- Squash: 3-6 years
Bug Out or Bug In
The Bug Out Garden isn't just a product – it's your ticket to food independence in any situation. Whether you're bugging out or bugging in, this versatile system has you covered. In a "bug out" scenario, its portable design allows you to swiftly relocate your food source, ensuring sustenance even when on the move. For those "bugging in," it's an efficient solution for urban dwellers, preppers, or anyone wanting a reliable food supply at home. From apartment balconies to remote wilderness, The Bug Out Garden empowers you to grow fresh, nutritious food anywhere. It's not just about survival; it's about thriving with your own homegrown produce, come what may. With The Bug Out Garden, you're always ready to grow your own food security.