Getting Started
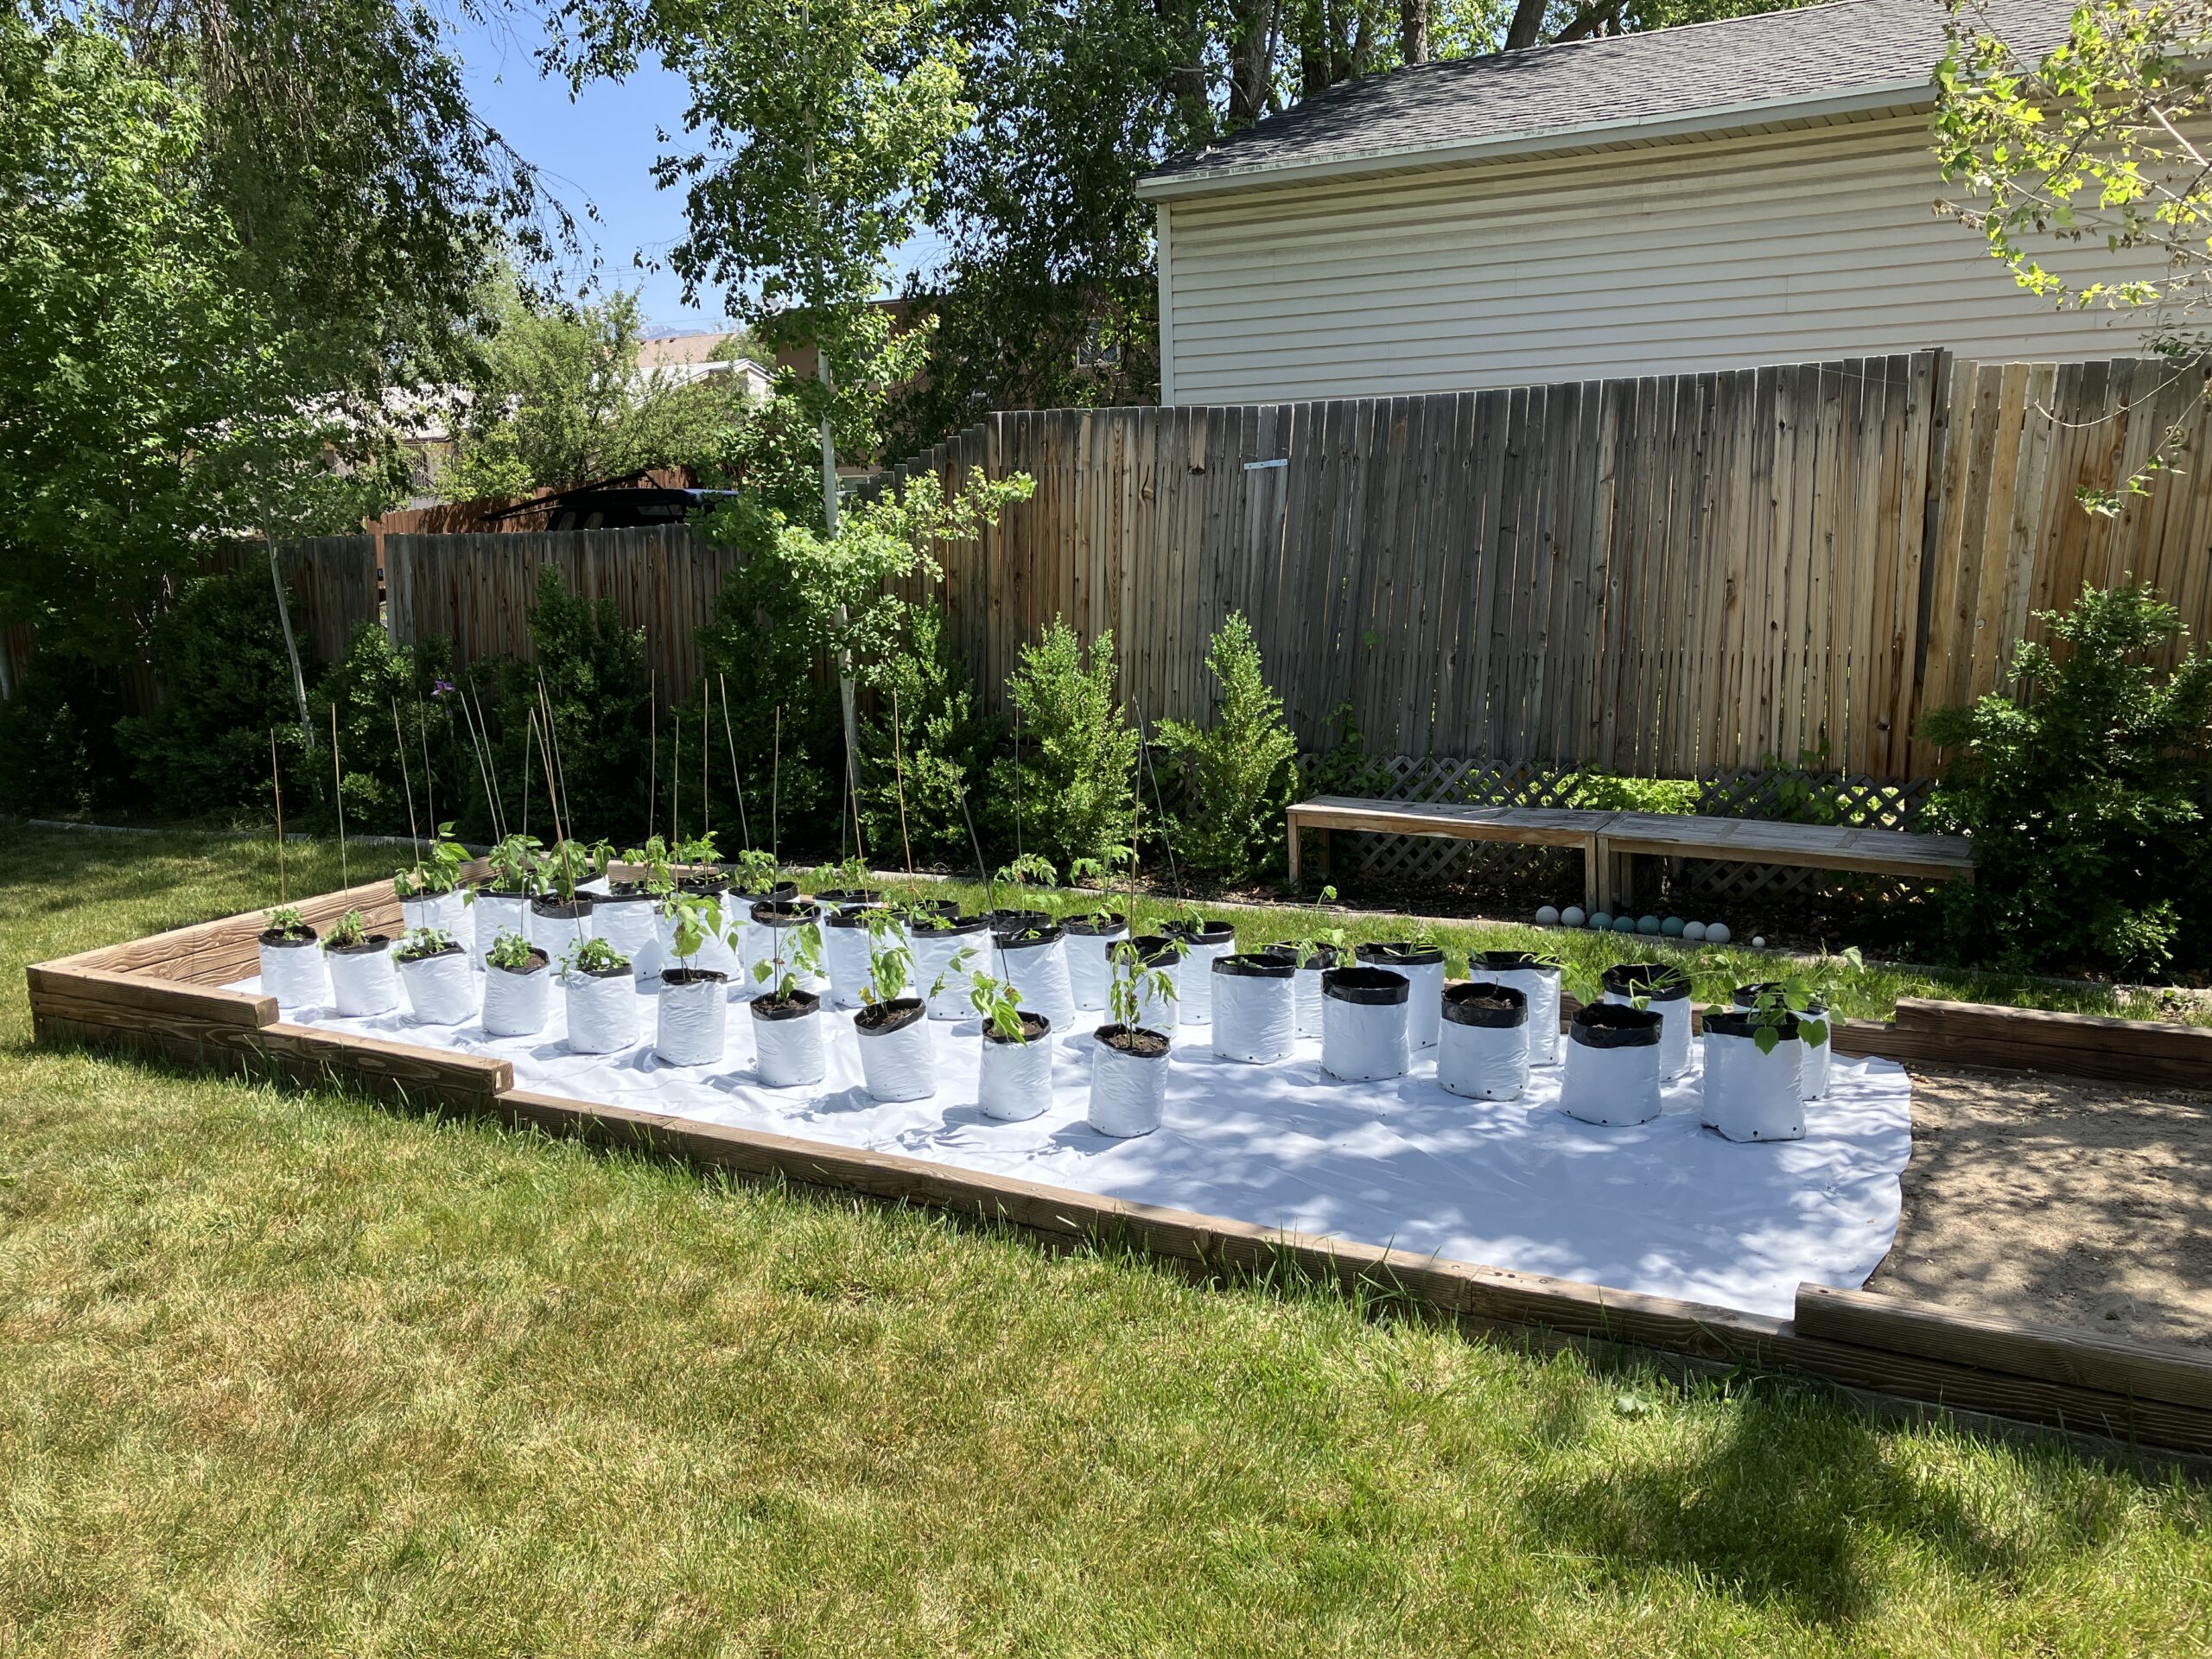
Your Bug Out Garden system arrives ready for rapid deployment, with each component designed for intuitive setup and immediate use. Begin by surveying your available space – whether you’re working with a backyard, patio, or balcony, the system’s flexibility allows for optimal arrangement in virtually any setting. The key is finding a location that provides adequate sunlight (6-8 hours daily for most vegetables) and convenient access to a water source.
Understanding Your Components
Before diving into setup, familiarize yourself with the grow bag sizes and their purposes. The 1-gallon bags excel at herb production and compact greens, perfect for creating an accessible kitchen garden. The versatile 3-gallon bags form the backbone of your vegetable production, accommodating everything from peppers to bush beans. The 5-gallon bags handle your heavy feeders and larger plants – think indeterminate tomatoes and sprawling squash varieties. This tiered approach allows you to match plants to their optimal growing space while maintaining system mobility.
Initial Setup Process
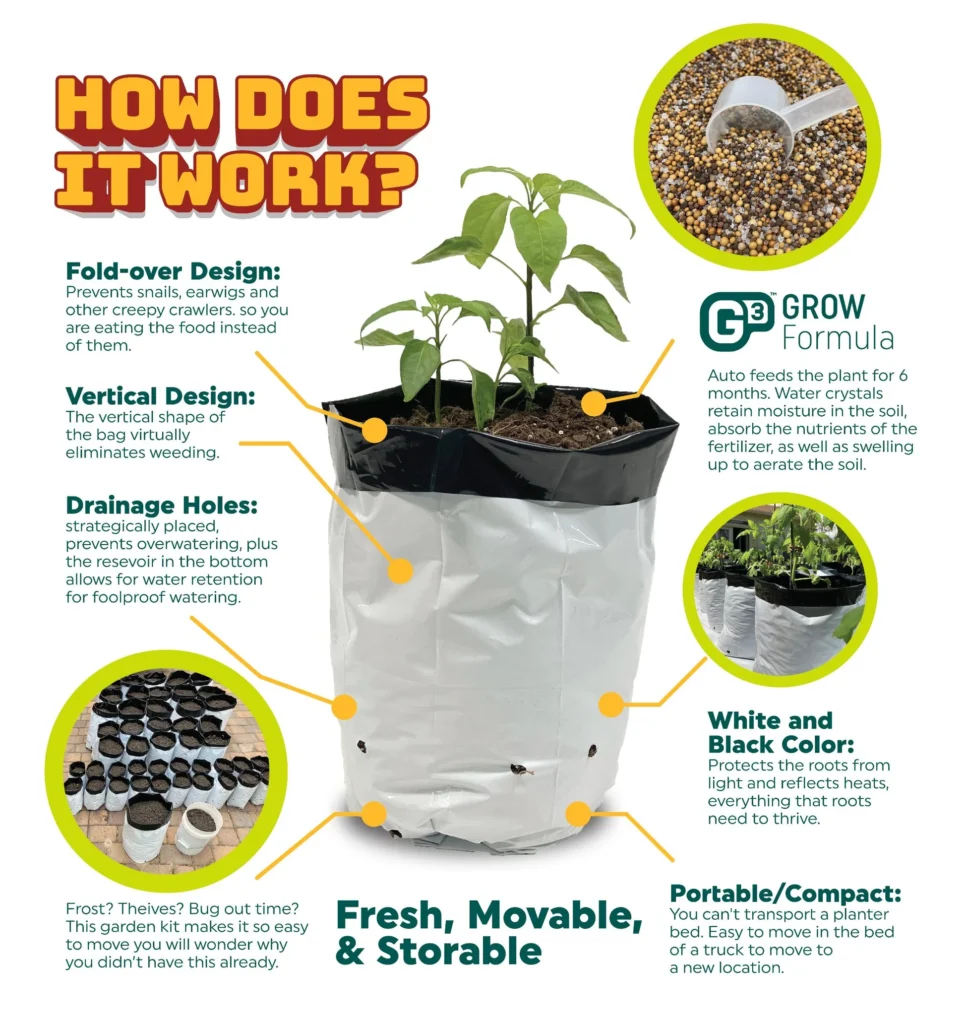
Start your setup by preparing your growing medium. The G3 Grow Formula integrates seamlessly with your soil, using the simple ratio of one ounce per gallon of soil. Mix thoroughly, then fill your bags, leaving the crucial top layer of plain soil to protect the water-retention crystals from UV damage. This two-inch gap at the top also creates a watering well, ensuring efficient moisture distribution. Water each bag thoroughly after filling – this initial soaking activates the G3 Formula’s water retention crystals and begins the nutrient release process.
Irrigation Installation
While your soil settles and the G3 Formula activates, set up your irrigation system. Connect the digital timer to your water source – this becomes the command center for your garden’s water management. Run your main lines strategically through your growing area, using the support stakes to maintain tidy, efficient paths. The dual-circuit design allows you to divide your garden into zones, ensuring consistent water pressure throughout. Install drip emitters at each bag, positioning them to deliver water directly to plant root zones.
Final Steps and System Activation
With your bags positioned and irrigation in place, you’re ready for planting. The system’s design allows you to start with seasonal favorites while maintaining the flexibility to adjust and expand. Plant according to your local growing season, keeping in mind that the grow bags’ mobility allows you to optimize placement as conditions change. The automated irrigation system can be programmed for multiple short watering cycles, maximizing absorption while conserving water.
Moving Forward
Your Bug Out Garden system will begin showing its strengths immediately, but its true potential develops over time. The G3 Formula provides consistent nutrition throughout the growing season, while the automated irrigation ensures reliable water delivery. Monitor your plants daily during the first week as they establish themselves, paying particular attention to moisture levels as the water retention system stabilizes. The modular nature of the system allows you to fine-tune placement and adjust growing strategies based on your observations and needs.
Remember, this system balances immediate functionality with long-term sustainability. While it’s designed for quick setup, taking time to optimize your initial layout will pay dividends throughout the growing season. The mobility of the grow bags means nothing is permanent – you can adjust and adapt as you learn your space’s unique growing conditions.
First Week Checklist
- Monitor soil moisture daily
- Observe plant response to placement
- Verify irrigation coverage
- Check timer programming
- Add support structures as needed
The Bug Out Garden system transforms from box to productive garden in a matter of hours, but its thoughtful design supports months of efficient food production. This balance of rapid deployment and sustainable operation ensures both immediate results and long-term food security.
Grow Bag Selection and Plant Matching
1-Gallon Bags
- Perfect for herbs and leafy greens
- Small root vegetables like radishes
- Compact pepper varieties
- Ideal for starter plants
3-Gallon Bags
- Most vegetables including:
- Standard pepper plants
- Bush beans
- Medium-sized tomato varieties
- Cucumbers
- Zucchini
5-Gallon Bags
- Large plants including:
- Full-size tomatoes
- Multiple pepper plants
- Winter squash
- Root crop clusters
Rapid Deployment Steps
1. Site Preparation
- Choose location with 6-8 hours sunlight
- Ensure water source access
- Create level surface for bags
- Plan walking paths between plants
2. Soil Preparation
- Mix G3 Formula with soil (1 oz per gallon)
- Add protective soil layer on top
- Fill bags leaving 2 inches at top
- Water thoroughly to activate crystals
3. Irrigation Setup
- Connect timer to water source
- Run main lines to garden area
- Install drip lines to each bag
- Test system operation
4. Planting Process
- Select appropriate bag sizes for crops
- Plant according to seasonal timing
- Water immediately after planting
- Add support structures as needed
Essential Maintenance
Daily
- Check moisture levels
- Monitor plant health
- Adjust irrigation as needed
Weekly
- Inspect irrigation system
- Check for pest issues
- Prune as needed
System Features to Implement
- Multiple short watering cycles
- Proper emitter placement
- Support structures for climbing plants
- Path access for maintenance
Remember: The system is designed for quick setup while maintaining optimal growing conditions. Take time to plan placement but don’t overcomplicate the initial setup – the system can be adjusted and optimized as plants develop.
| 1/2 gallon | 1 gallon | 3 gallon | 5 gallon | 10 gallon |
| Basil sweet Italian | Artichoke | Artichoke | Bell Pepper | Asparagus |
| Catnip | Basil sweet Italian | Beans | Broccoli | Beet |
| Chives | Beans | Bell Pepper | Brussel Sprouts | Blue Berries |
| Cilantro/Coriander | California Poppy | Broccoli | Cabbages | Carrot |
| Dill | Cayenne Pepper | Bunching Onions | Carrot | Corn |
| Echinacea | Cilantro/coriander | Cabbages | Cauliflower | Cucumber |
| Garlic Chives | DANDELION | Cauliflower | Celery Root | Melons |
| Hyssop | German Chamomile | Celery Root | Cucumber | Onions |
| Lemon Balm | Jalapeno | Egg Plant | Egg Plant | Parsnip |
| Lemon Basil | Kale | Kohlrabi | Kohlrabi | Peanuts |
| Mustard | Lavender | Lettuce | Melons | Potato |
| Oregano | Mustard | Mixed Greens | Okra | Prickly Pear |
| Parsley | Peas | Okra | Poblano | Pumpkins |
| Peppermint | Peppermint | Peas | Potato | Radish |
| Sage | Quinoa | Poblano | Prickly Pear | Raspberries |
| Savory | Rosemary | Prickly Pear | rhubarb | Squash |
| Skullcap | Spearmint | Spinach | Squash | Sweet Potato |
| Stinging Nettle | Spinach | Squash | Swiss Chard | Turnip |
| Sweet Marjoram | Stevia | Tomatillo | Tomatillo | Yam |
| Thyme | Strawberries | Tomato’s | Tomato’s | Yucca |